|
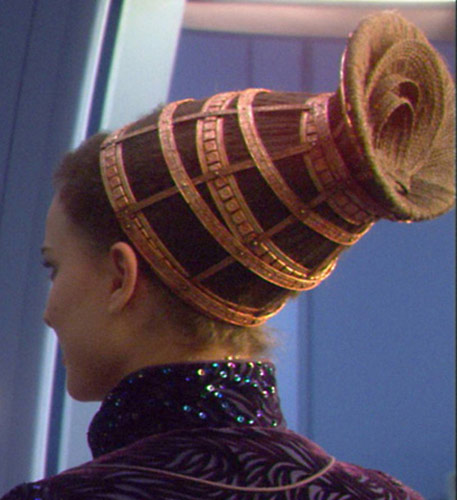
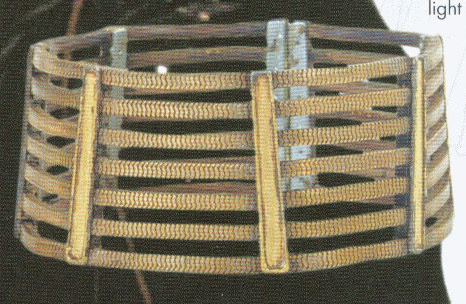
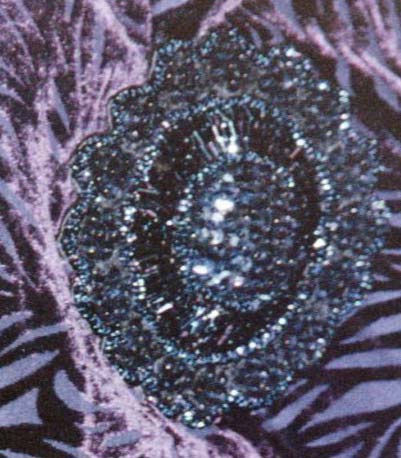
TOP IMAGE: MOVIE HEADDRESS
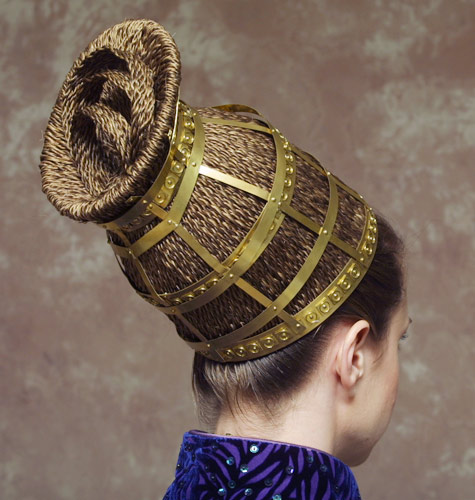
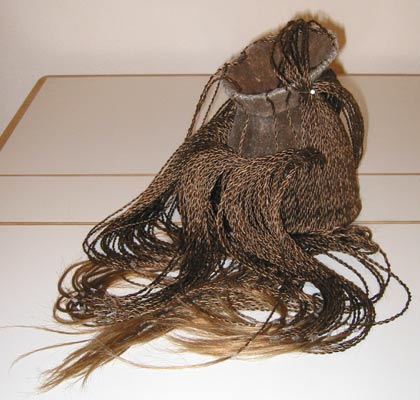
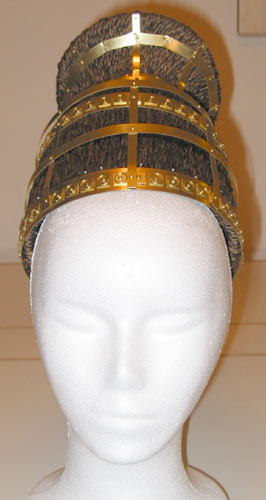
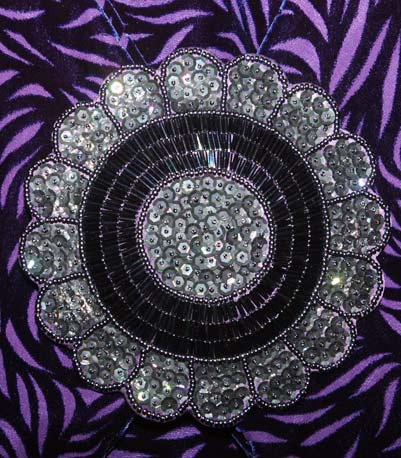
BOTTOM IMAGE: MY HEADDRESS
COVERING FRAME WITH FLEECE/WADDING
MATERIALS USED
- Pellon fusible fleece
- Jacquard Textile Color (103 Orange and
111 Sky Blue)
- Paint brush
- invisible thread
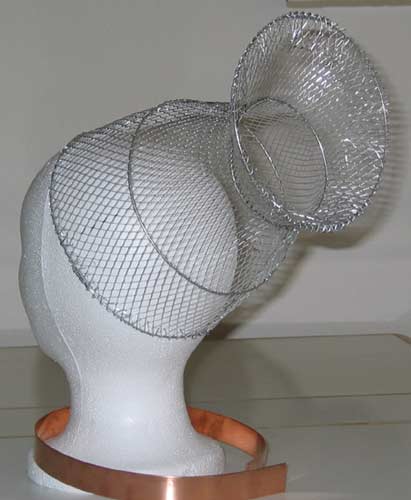
I covered the wire frame with
a light weight pellon fusible fleece. Initially, the fleece
was washed and dyed with RIT using the stove top method. 1pt
Cocoa Brown to 2pt Tan. The dye did not take well, so after
covering the frame with the pellon fleece I painted it brown
with Jacquard Textile Color (103 Orange and 111 Sky Blue were
mixed to make brown). At that point I could put the headdress
on my head and hold it in place with 2 bobby pins. It was
very light before I added all of the hair.
COVERING THE FRAME WITH HAIR
MATERIALS USED
- Invisible thread
- Three 24" length American Silky
human hair wefts in medium ash blonde (Purchased from
Ebony Beauty Supply in San Francisco)
- Three 18"-20" length American
Silky human hair wefts in dark blonde
- Wella and Clairol hair dye in various
shades of ash blonde
- rubber bands
The real headdress used in the movie
appears to use microbraided hair in a brunette color. This
pre-braided hair can be purchased at beauty supply stores
specializing in hair extensions (Sally Beauty Supply). Some
online suppliers for this hair are EbonyLine.com,
Doctored
Locks and Gothic
Castle.
My hair is a medium ash blonde, so I
was not able to use the pre-braided brunette hair wefts
that can be found at some beauty supplies. I instead purchased
American Silky human hair wefts in colors close to my own
hair. After dyeing some of the hair wefts to remove the
reddish cast, the hair was braided into two stranded twists
(this took about 4 days). The braids were then sewn on to
the pellon covered wire frame with invisible thread (this
took about 8 days).
DEOCORATING THE HEADDRESS
MATERIALS
USED
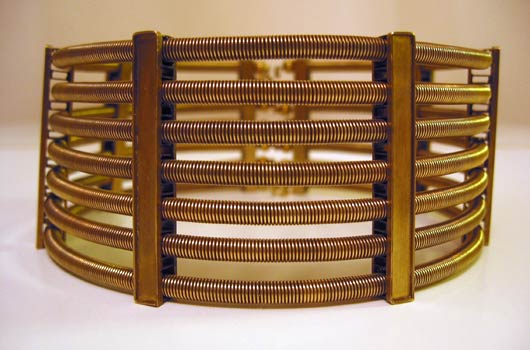
- Brass strips
by K&S Engineering
- Brass screws
and nuts from K&S Engineering
- Brass wire
(thin rod) from K&S Engineering
- Round head
brass rivets
- Slow Zap Glue
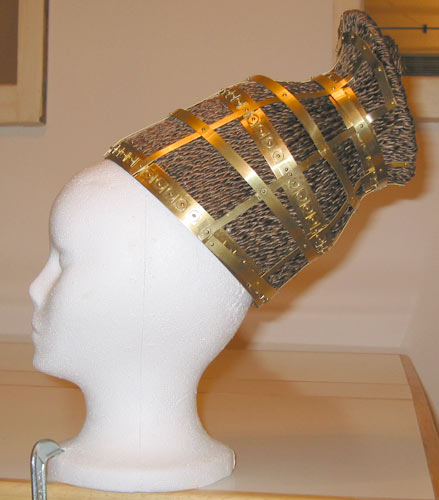
The outer part
of the metal headdress used in the movie appears
to be made from pattern wire strips (the decorative details
on the metal can be seen in some photos). Unfortunately,
the 1/2 inch copper pattern wire I found was much too thick
a gauge (14) to use and would make the head dress too heavy
(not to mention it's almost impossible to shape). The 1/4"
pattern wire I found was thin enough and light weight to
use for the vertical strips - but I've decided to use plain
yellow brass strips instead. I think the real head dress
has the appearance of gold or red brass (which imitates
the look of gold) Regular yellow brass is too yellow, and
copper is a little too red. It's also a possibility that
the real headdress isn't covered with metal, but with plastic
or leather strips painted to look like metal.
All
of the rivets used on my headdress are decorative only.
They were simply inserted and glued into holes that were
drilled. I lacked the ability to actually forge my metal
into the shapes needed for the headdress, but I did my best
to cut and bend the metal into place. The weak link in this
design is that it relies on super glue to hold it together
(Only the 3 main large rings are held in a circular shape
with screws). This makes the outer structure very fragile
and some joints tend to pop if it's not handled delicately.
Perhaps if I had used thinner metal (like foil for embossing)
this would not be an issue. Also, foil would have been more
pliable and easier to bend into some of the shapes needed.
After reevaluating my design,
I realise that flat metal strips do not conform correctly
to the cone shape of the headdress as it spirals around
it. I would have had to cut circular shaped strips from
flat metal in order to get it to lay flat as it spiraled
upward. If I were to attempt this headdress again I'd experiment
with embossing leather strips and painting them bronze.
|